Homegym flooring is pretty simple. But, you should know some essential tips first. These tips will help you achieve satisfying results the first time around. Once you have your home gym equipment in place, you most likely can’t be bothered to redo the flooring.
What type of flooring?
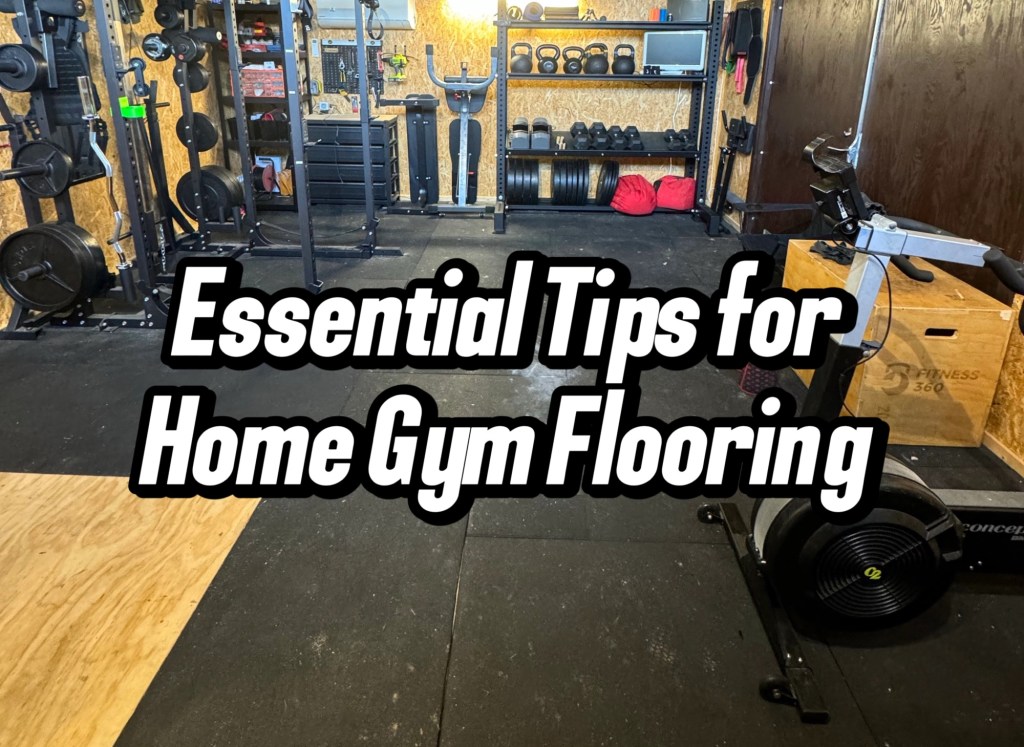
This depends on your needs and budget. In my opinion, the best solution for most people will be 15mm thick rubber flooring (they go up to 40mm). If you build a designated platform for your heavy lifts, then 15mm rubber mats will do the job. I prefer to have rubber flooring throughout. But you can save money if you have a cardio section or some strength machines, where it is usually not necessary to install rubber flooring underneath.
In Europe rubber mats are often sold as 1×1 meter squares and several home gym equipment websites sell them. Sometimes they even sell rubber mats with small cosmetic defects at a significantly reduced price. Rubber mats are very heavy and they are shipped on pallets. Hence you often have to pay quite a lot for shipping. Therefore, remember to get all of your mats the first time around and remember to compare shipping prices before you buy.

Prepping the mats
Most rubber mats have an unpleasant odour when you receive them. Unless you buy some of the premium commercial solutions. In my expirience this odour can be greatly reduced if you prepare the rubber mats a bit before bringing them inside your homegym.
Start by scrubbing your mats thoroughly with water and soap. Afterwards, you leave them outside in the sun for a week or two. Finally, you either just dust them of or give them another scrub with water and soap. Now, when you bring your rubber mats inside, they should give off much less of that unpleasant odour.
Wooden floors underneath?
My second homegym was in a spare bedroom with wooden floors. I had previously heard of people who had their wooden floor stained by rubber mats. I therefore placed flooring paper (normally used to protect floors while paiting) between the wooden floor and the rubber mats. When I removed the rubber flooring two years later there was no damage to my wooden floors.

Shifting the rows
Not much to say here. See the picture below and remember to SHIFT THE ROWS. It is very difficult to get a clean looking result if all four corners have to align.

Cutting the rubber mats
I learned this the hard way. I wasted so much time in my second home gym. You have to buy a quality hobby knife with razor sharp blades. You will thank me! In regards to the actual cutting of the rubber mats, I usually mark the mats with chalk. I then place a long piece of wood beneath the part of the rubber mat that is marked with chalk. Finally, you want to cut along your chalk line with your hobby knife a few times. It usually requires 2-3 cuts with a good hobby knife.
Go for a tight fit
When in doubt, cut the rubber mat a little too big. You can then use a rubberized hammer to force the rubber mats in place. This tight fit will prevent your rubber mats from sliding around. It will also prevent you from getting those big annoying gaps between your rubber mats. These gaps always collect tons of dust.

I hope this was helpful! If you have any questions or further suggestions, please comment below.

Leave a comment